How to configure email sending in KSeFGPT
Enter the SMTP server, sign-in details and sender address, then save the email integration for the selected company.
- Module
- Integrations
- Reading time
- 4 min
- Difficulty
- Easy
You could do this with your eyes closed :)
- Published
- August 28, 2026
- Author
- Rafał Zeidler
- Format
- Written guide and video
Written procedure
What you will do
You will add an Email integration with your own SMTP server to the selected company in KSeFGPT. After saving, you will see an Active connection card that can be selected in the Send Notification action.
Saving the card does not yet confirm that the SMTP server will accept a message. The current form instructs you to perform the actual delivery test from a workflow.
Requirements
Before you start
Prepare the SMTP details supplied by your email provider. Use a separate app password when the provider requires one, and never include the password in screenshots or support requests.
| Item | Description |
|---|---|
| Access | The company owner or an organization member with integrations:manage. |
| Plan | A KSeFGPT plan with the automation feature, at least Medium. An organization member also needs the integrations:manage scope. |
| SMTP details | Server address, port, username, password or app password, and an authorized sender address. |
| Starting point | After signing in, select Integrations in the Automation navigation group. |
| Time required | About 3 minutes. |
| Verification | Saving does not send a message. Test delivery later in a controlled workflow and its execution history. |
Process recording
PT33.12SThe recording shows Email selection, SMTP detail entry and saving an active connection for the selected company.
Open integrations
In the side navigation, select Integrations in the Automation group. Select Add first integration, or Add integration if the list already contains other connections.
A dialog with the available integration types will open.
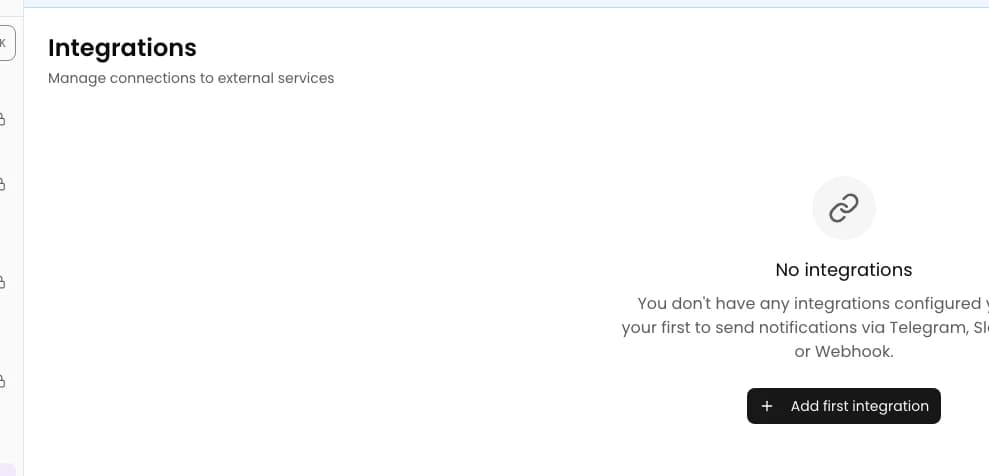
Select Email
In the Add integration dialog, select Email. Its card describes a connection for sending email notifications through SMTP.
The Configure Email form will appear.
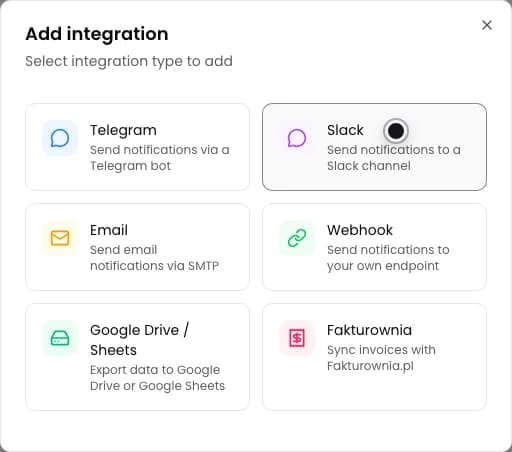
Enter the SMTP server and port
Enter a recognizable integration name in Name. Complete SMTP server and Port according to your email provider's documentation. The form suggests port 587, but this does not confirm compatibility with the server.
The form remains open so that you can add the sender account details.
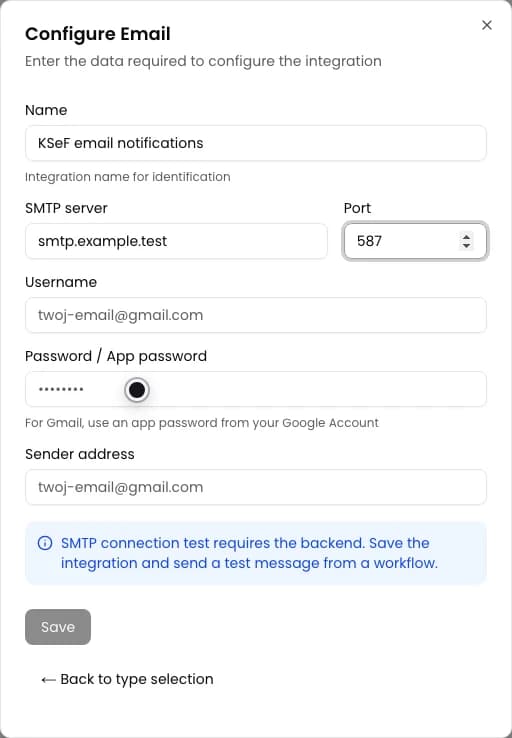
Enter the sender account details
Enter the Username, Password / App password and Sender address. The sender address must be valid and authorized for the SMTP account.
Save becomes available after you complete the name, server, username, password and sender address.
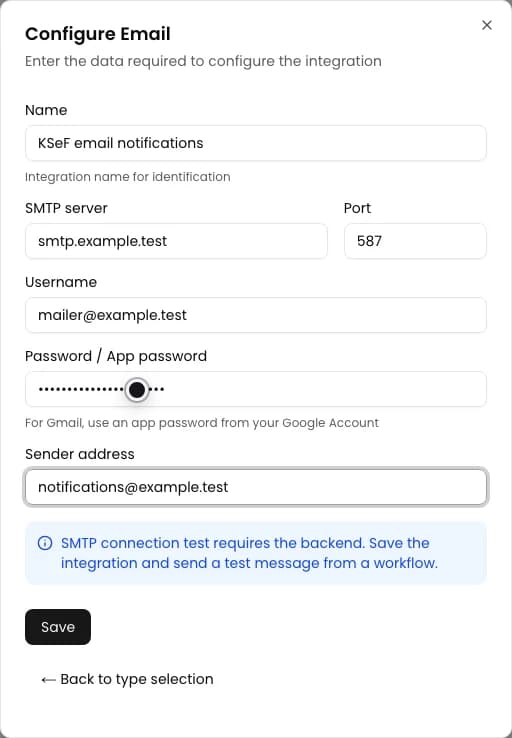
Save the integration
Select Save. KSeFGPT sends the details to the backend, saves the connection name and encrypts the SMTP username and password.
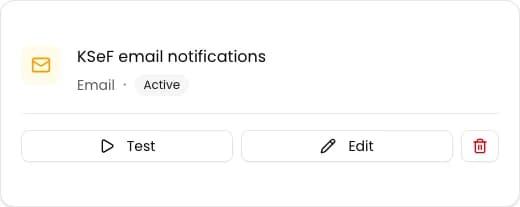
After the dialog closes, the new card should show the entered name, the Email type and the Active status. This status confirms that the configuration was saved, not that the SMTP server delivered a message.
Final state
Check the result
Find the card with the entered name in Integrations. It should show the Email type and the Active status.
To verify the real SMTP connection, select this integration in a controlled workflow that sends a message, run the workflow and check delivery and Execution history. The Test button on the card does not currently perform an SMTP attempt.
Diagnostics
If something does not work
Compare the symptom with the table below.
| Symptom | Likely cause | What to do |
|---|---|---|
| Save is disabled | The name, SMTP server, username, password or sender address is missing. | Complete every required field and enter the port specified by your provider. Do not assume that the suggested 587 matches its encryption mode. |
| The form rejects the sender address | The address does not use a valid email format. | Enter a complete address, for example notifications@your-domain.com. |
| The integration does not appear in the list | Saving failed or the integrations:manage scope is missing. | Check the save notification and ask the organization owner for the required permission. |
| The workflow reports an SMTP authentication error | The username, password or app password is incorrect. | Check the credentials with your provider. For Gmail, use an app password instead of the regular account password. |
| The workflow cannot connect to the server | The host or port is incorrect, or the provider blocks the selected connection. | Compare the server and port with the provider's documentation, update the integration and repeat the controlled send. |
| The server rejects the sender address | The SMTP account is not authorized to send from the entered address. | Use the account address or an alias approved by the provider. |
What next
Add the Send Notification action in the automation editor, select the saved integration and enter the message. The current editor has no separate recipient or subject fields.
In a controlled run, the message is sent to the saved Sender address by default with the subject Workflow Notification. Check Execution history and that inbox before using the connection in production.
Configure email sending
Sign in, save the SMTP details and prepare the integration for the selected company.
Sign in to KSeFGPT